This section describes the minimum working cycle of a sales representative in Ordizi: first launch of the program, data loading, selecting an outlet, registering a visit, entering payments, stock balances and orders, completing the visit, and checking data at the end of the working day.
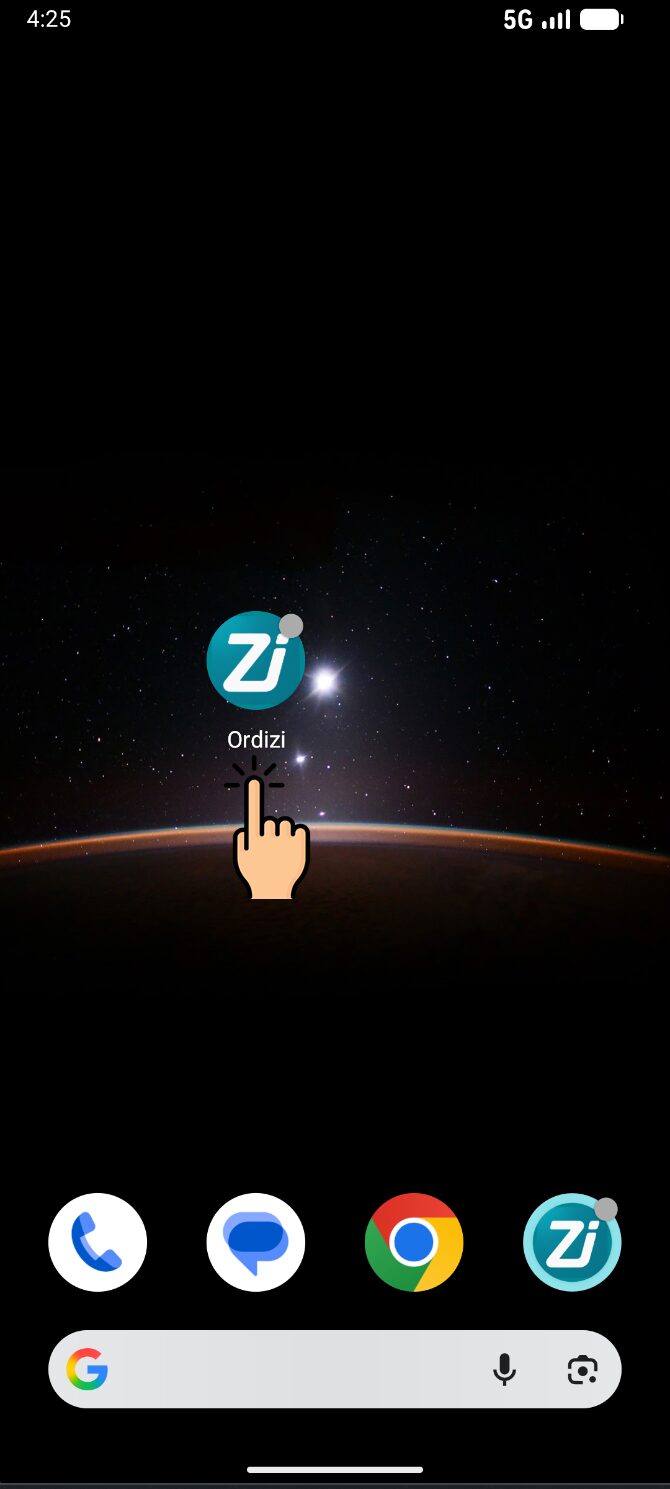
Launch the Ordizi app!
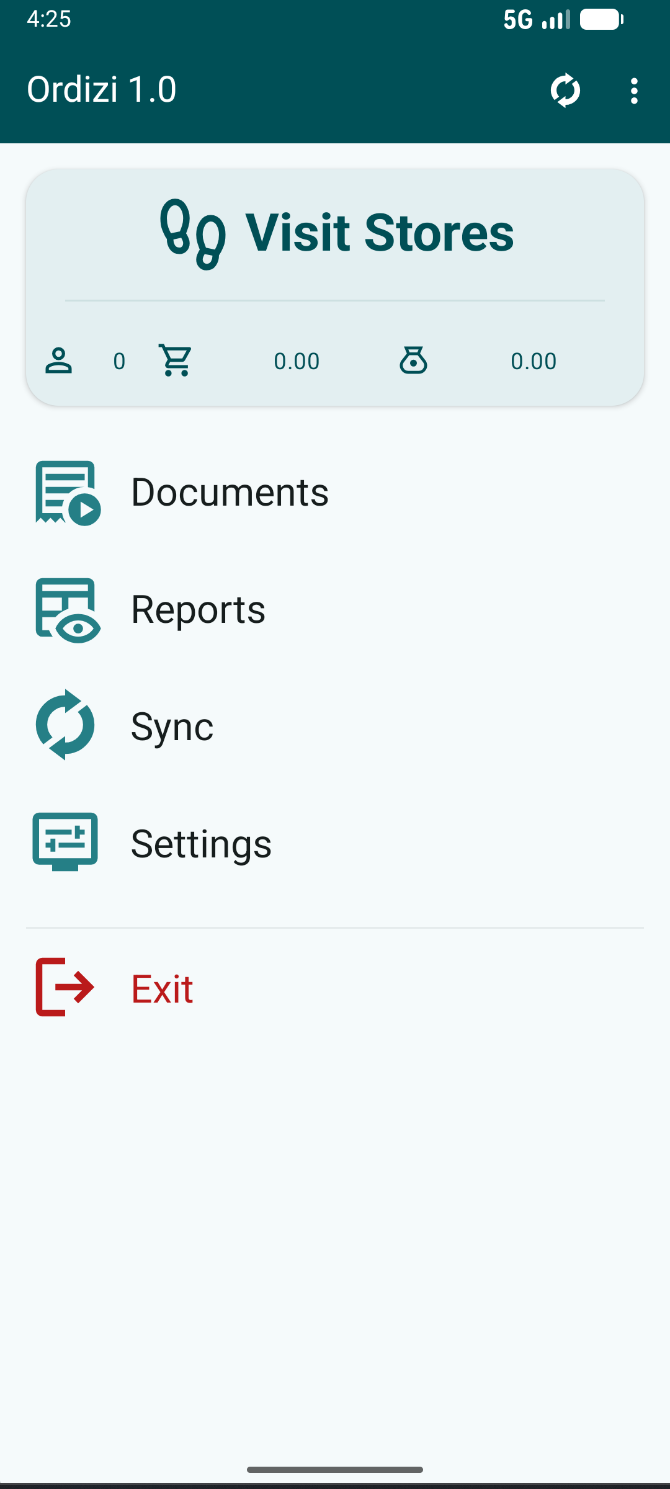
Upon first launch, you need to connect the app to the server. Open the Settings screen and fill in three fields: login, password, and Server address. This data is provided by the administrator. After entering the data, return to the main screen of the app.

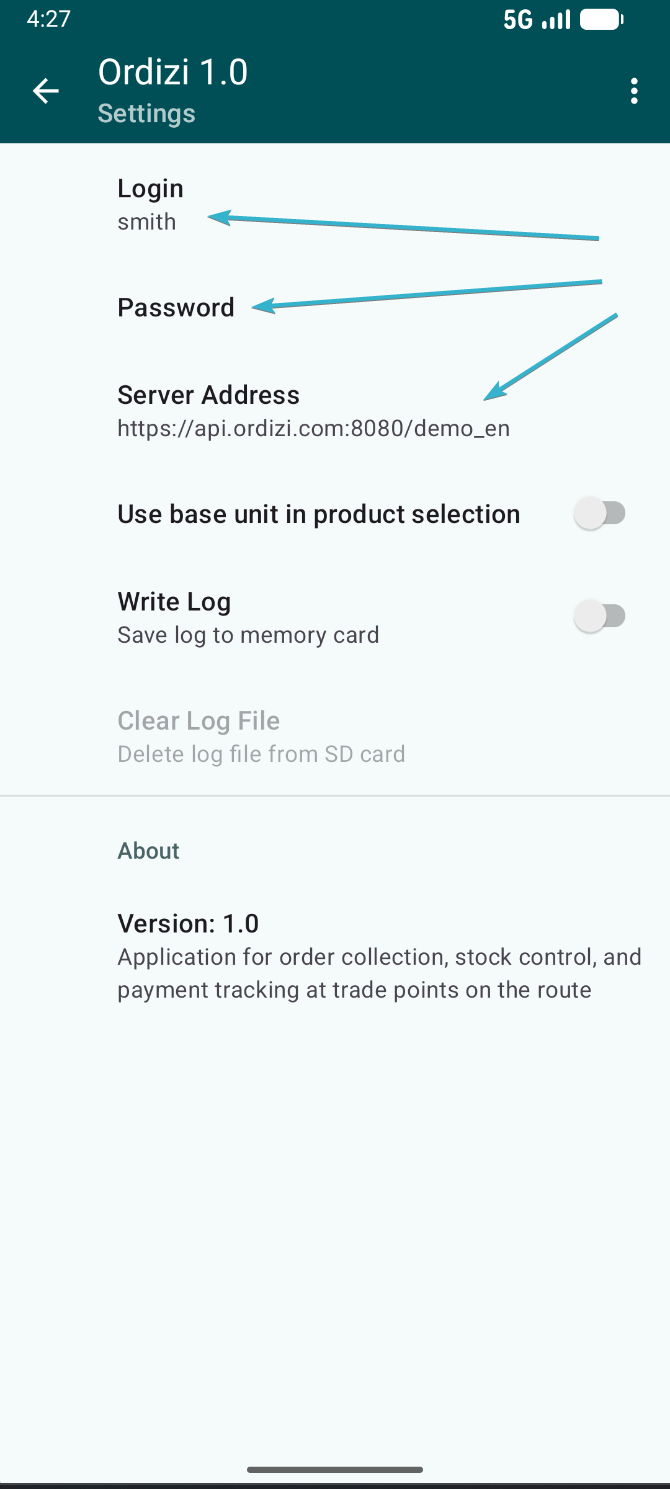
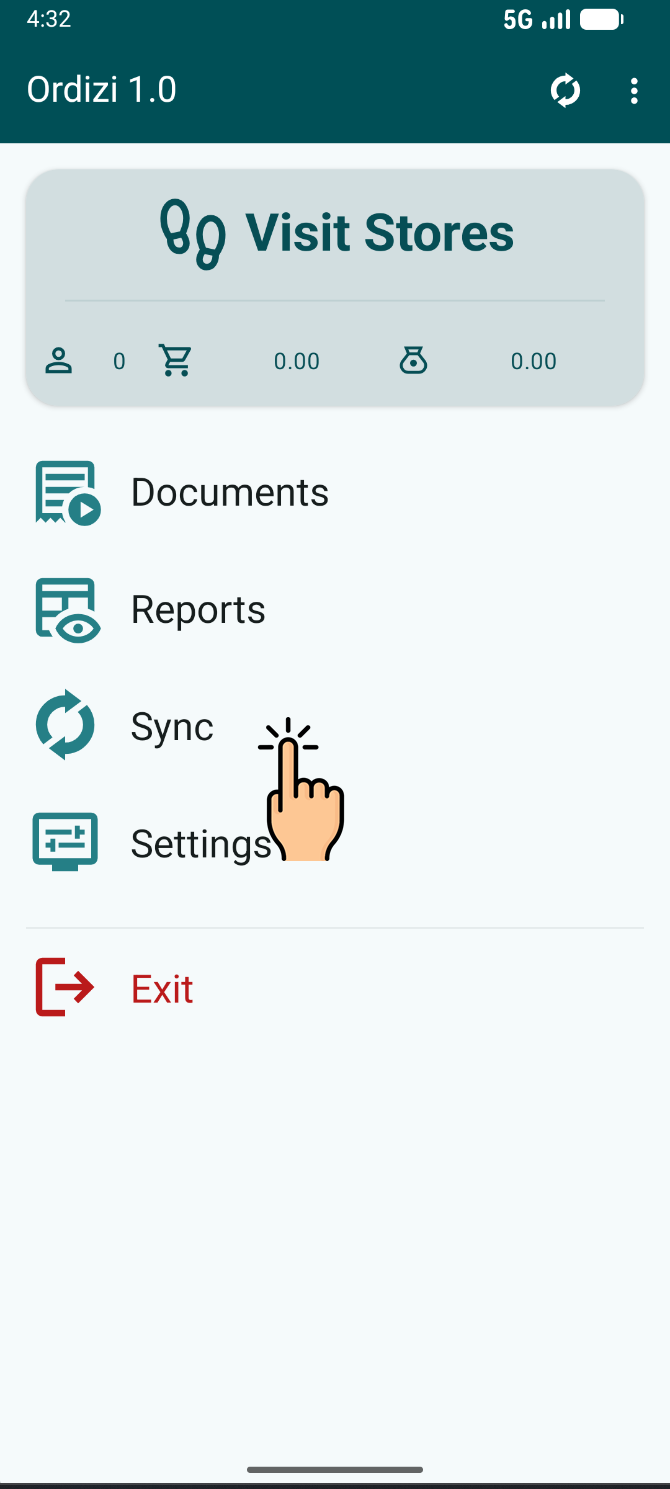
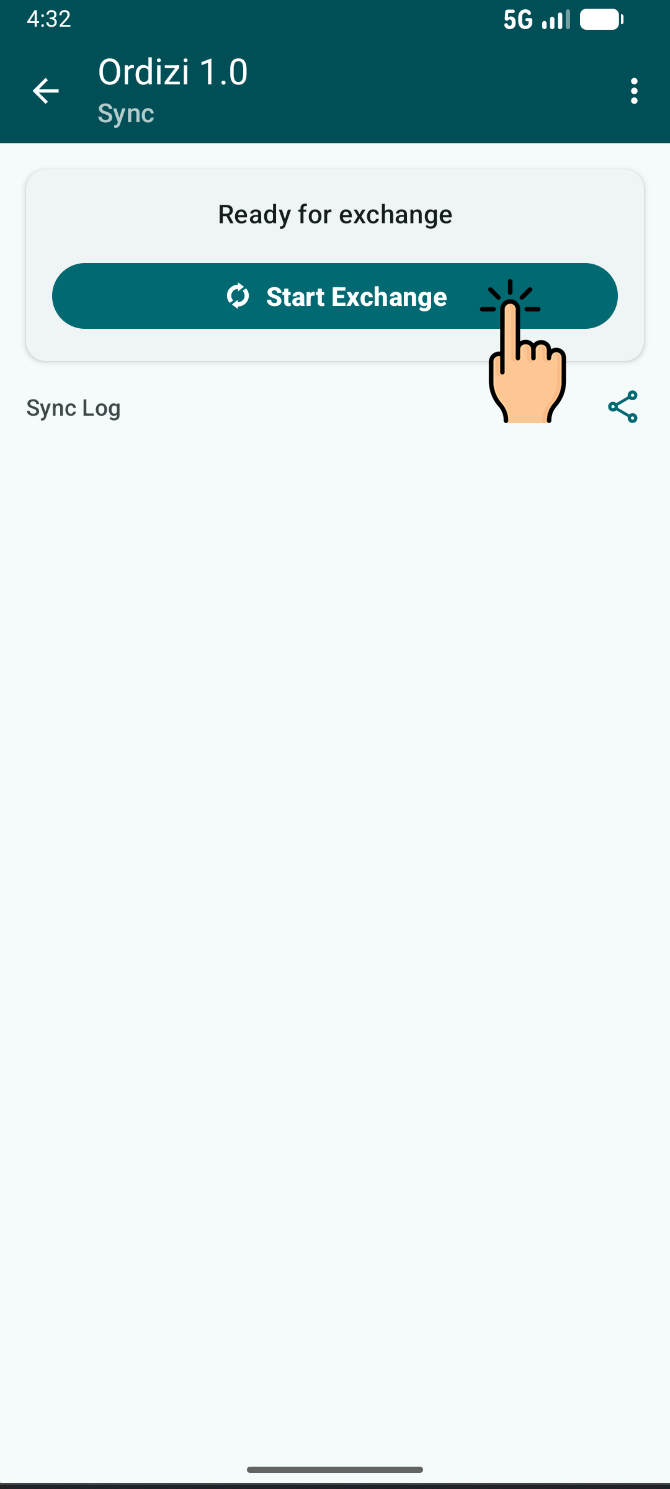
Next, open the Sync section and click the Start Exchange button. The app will download the data needed for work from the server: stores, products, routes, and other reference data. Wait for the exchange to finish and do not close the app during the download.
After a successful exchange, the first launch is complete. You can now proceed to work with clients through the Visit Stores section.
Visit Stores
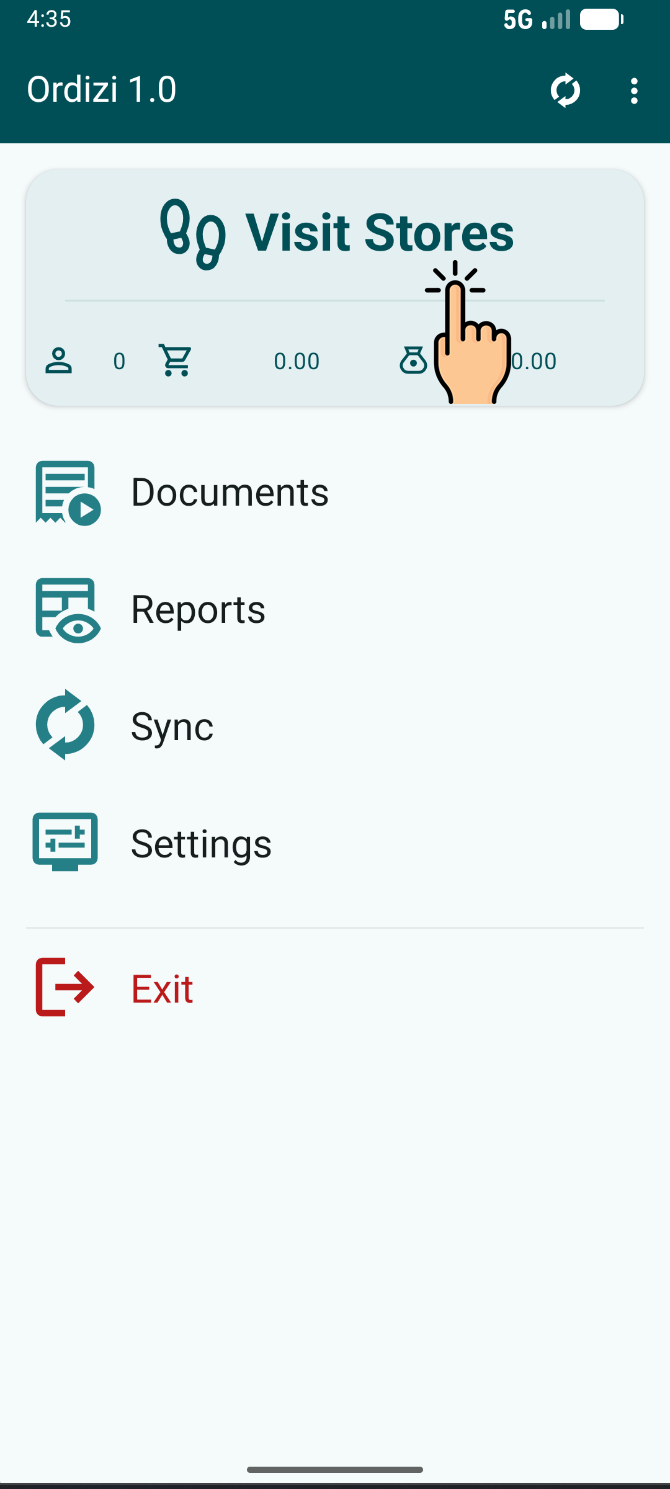
Working with a client starts from the main screen of Ordizi. Click Visit Stores. The client list will open. If a route is assigned for the day, select it using the Route button. If no route is assigned, find the outlet via search, the Category filter, or manually in the list.
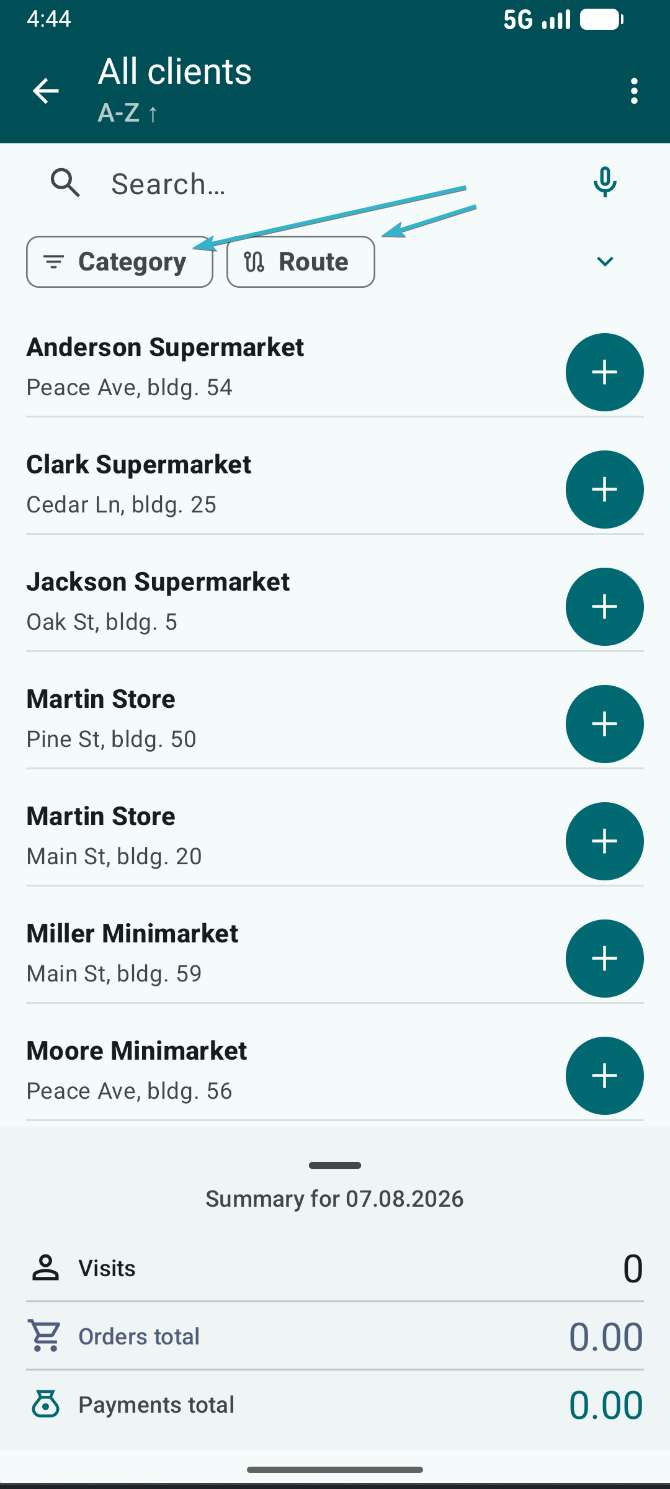
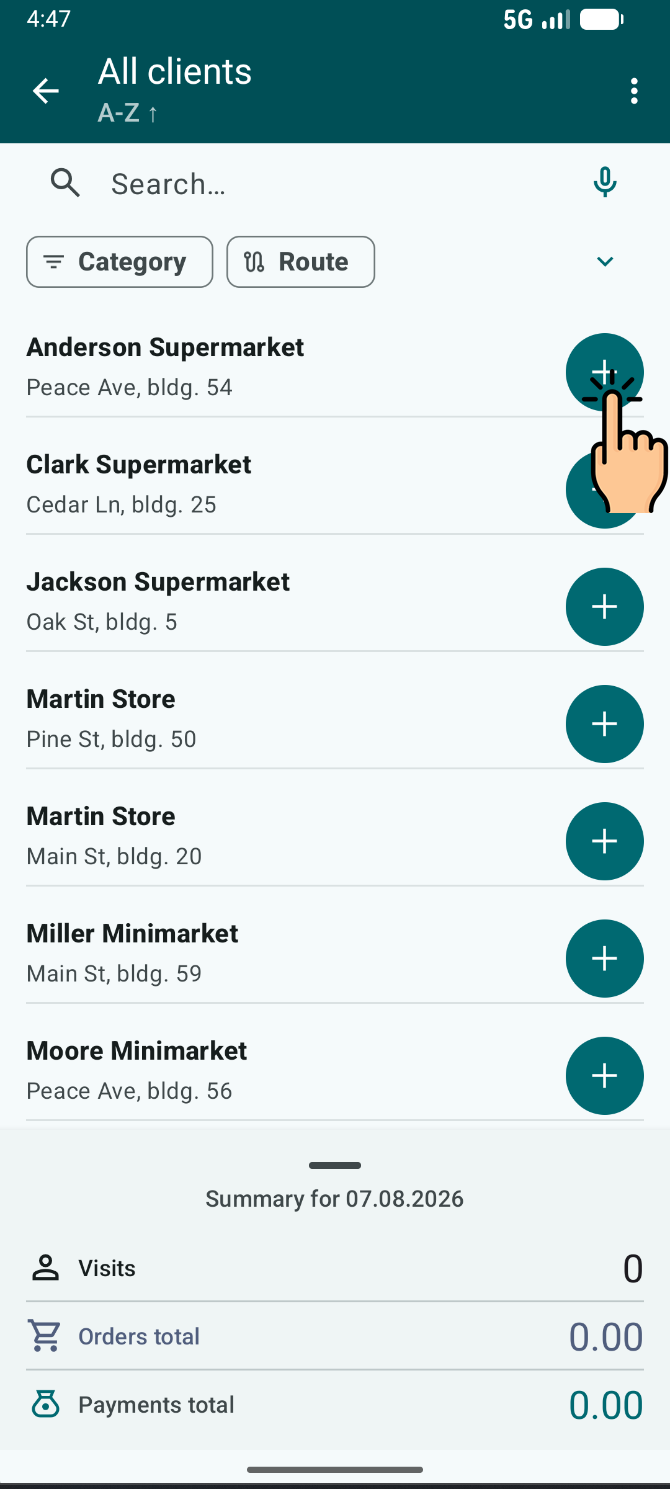
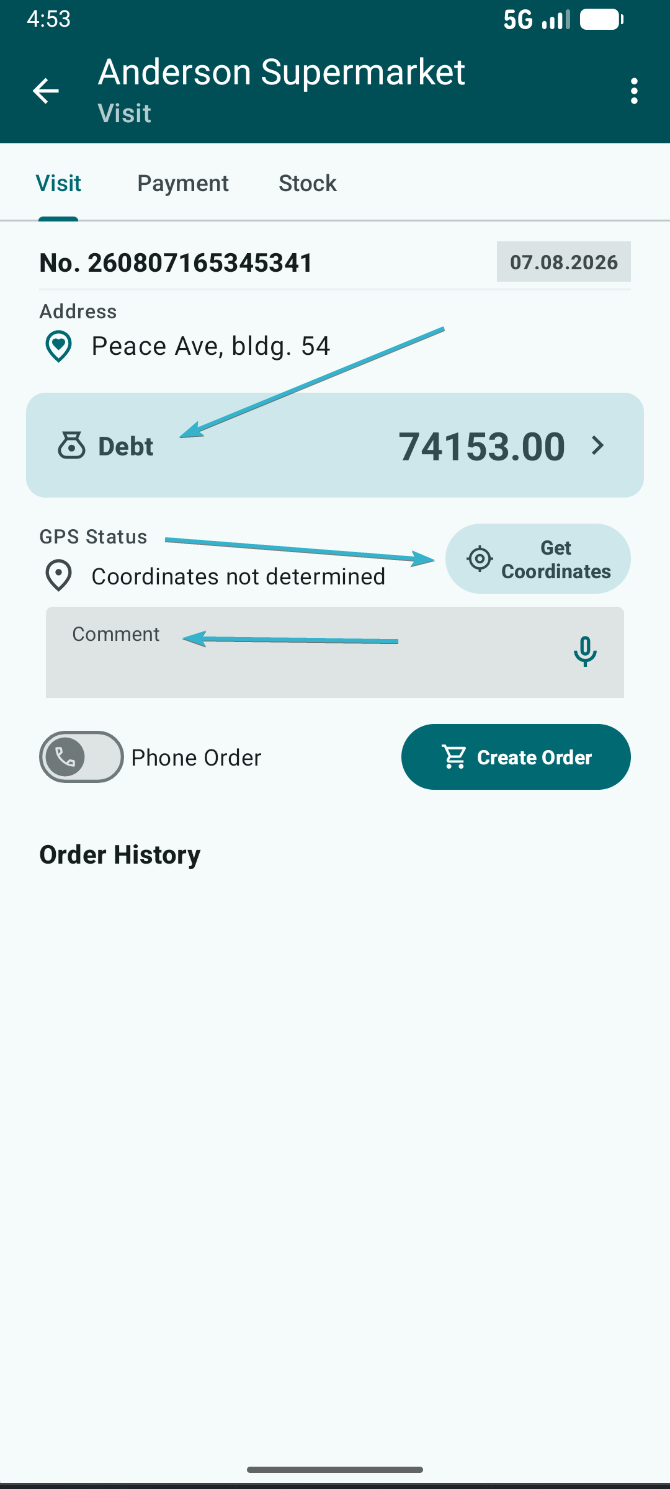
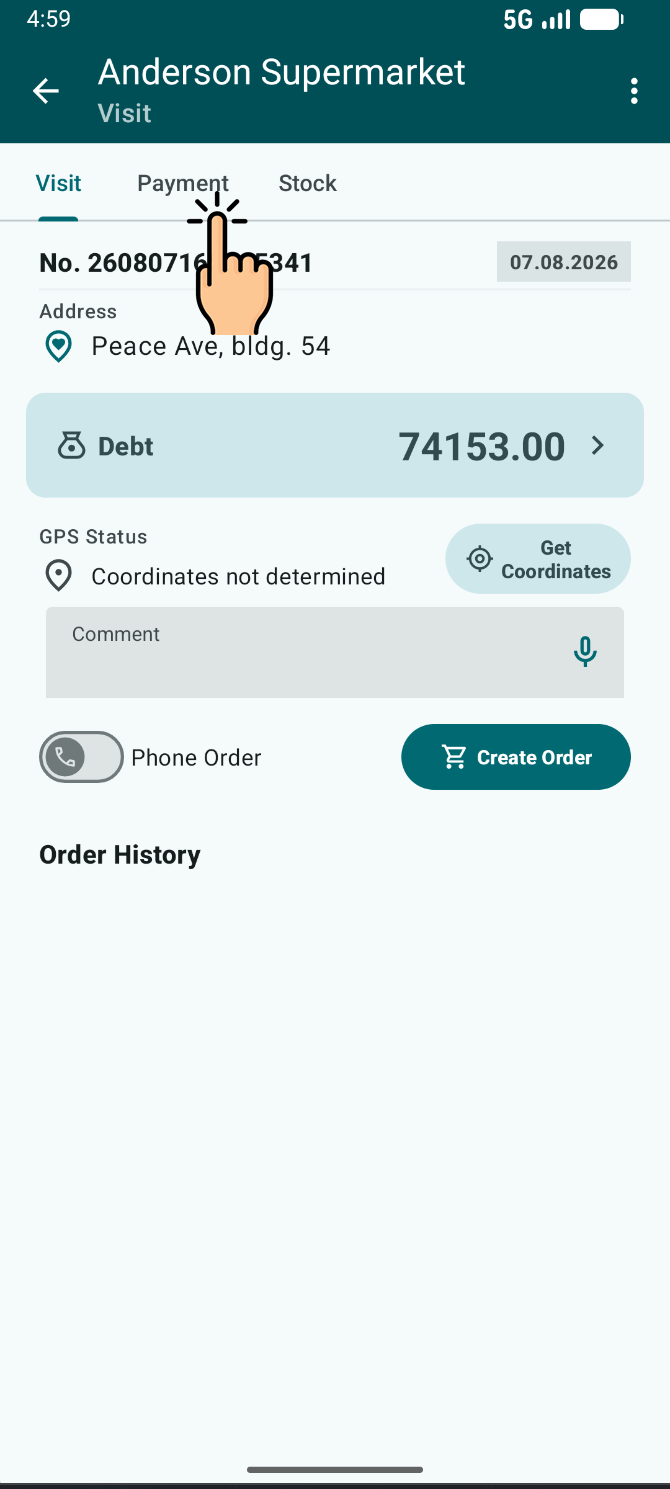
To start working with a client, tap the plus button next to the required store. The Visit document will open. Here you can enter a Comment, check the client’s Debt, and, if necessary, tap Get Coordinates to record the location.
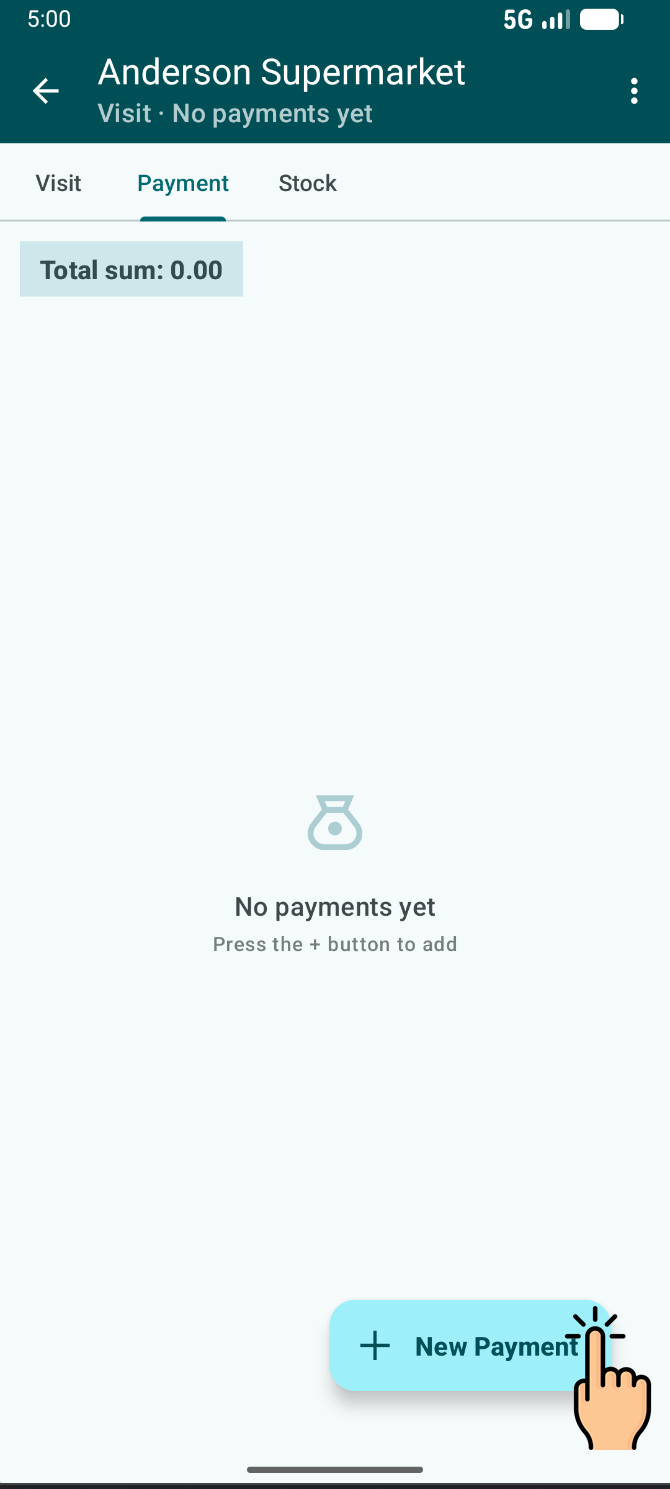
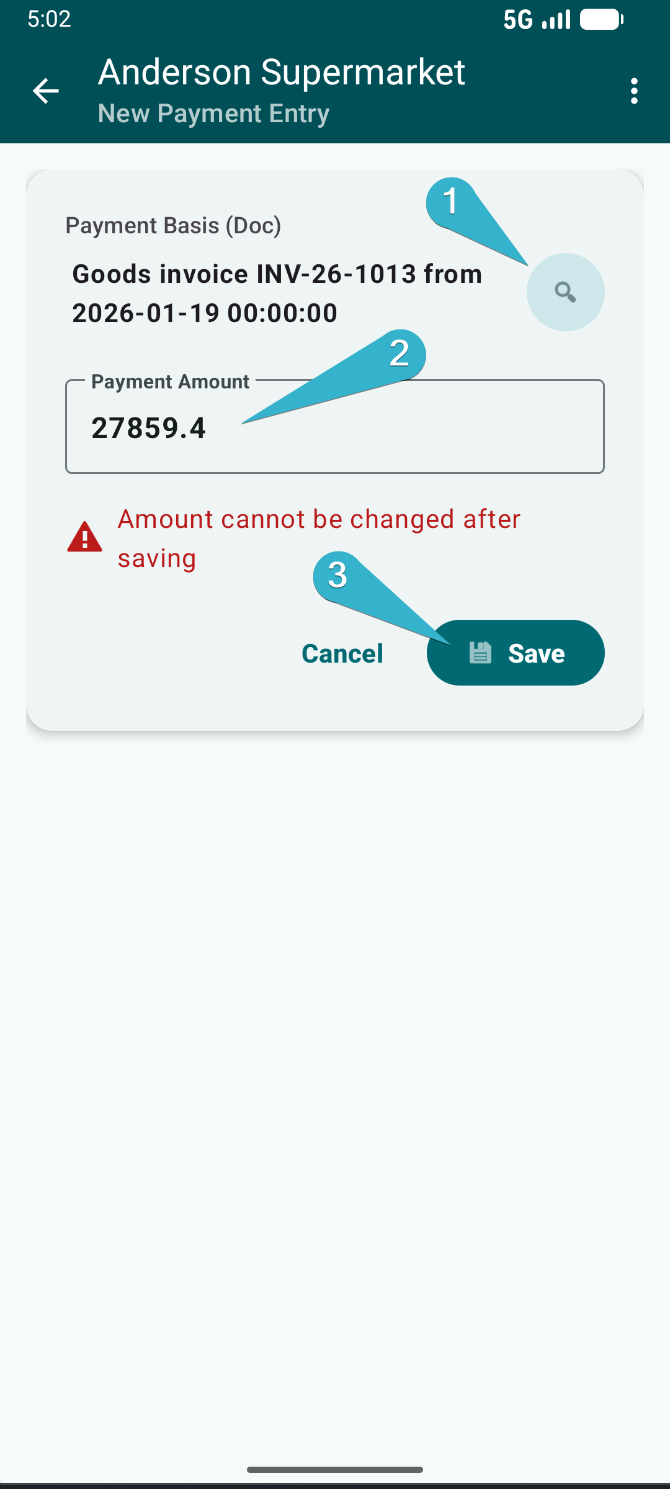
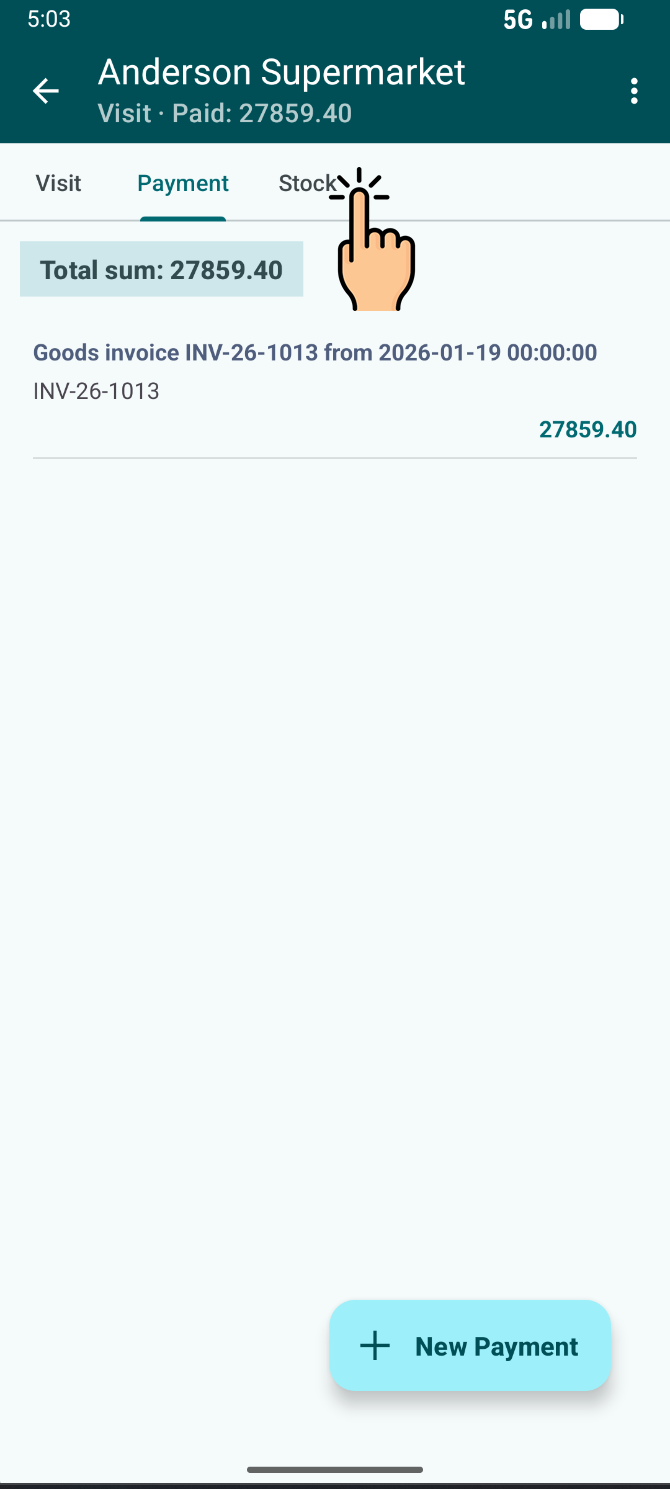
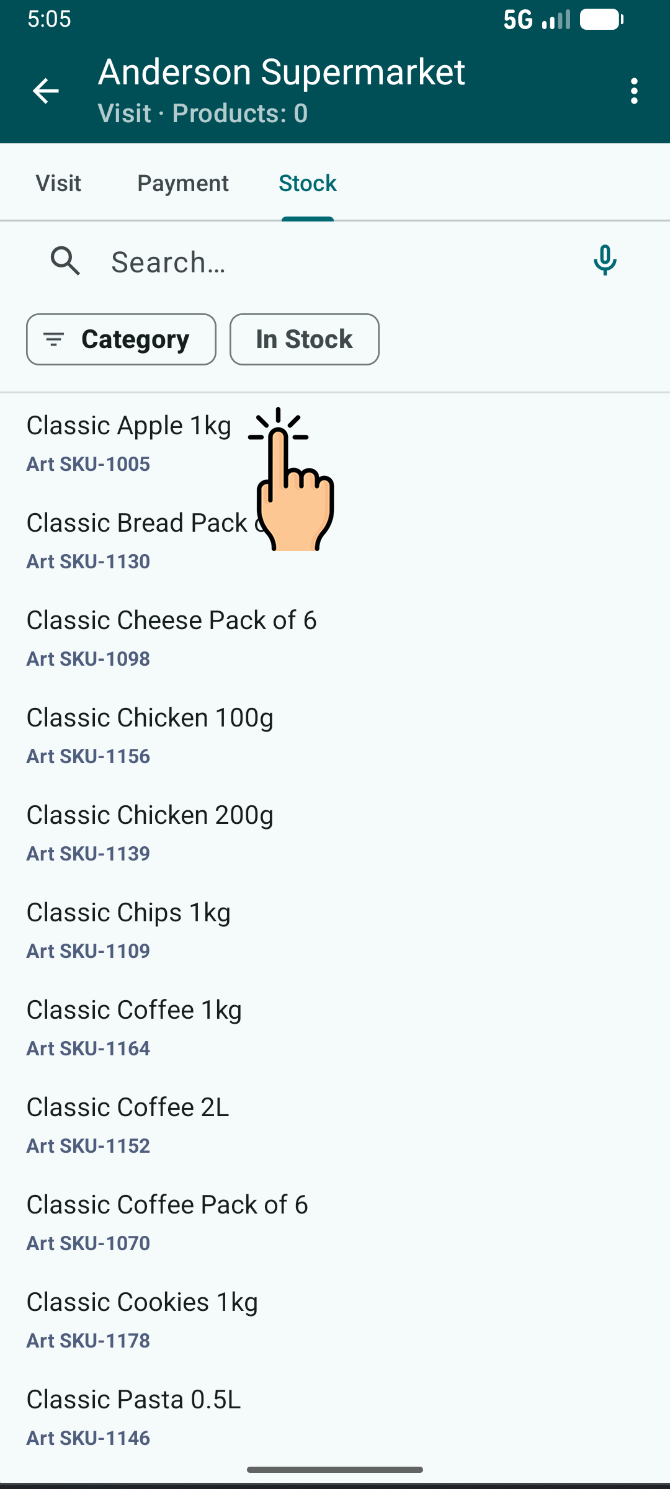
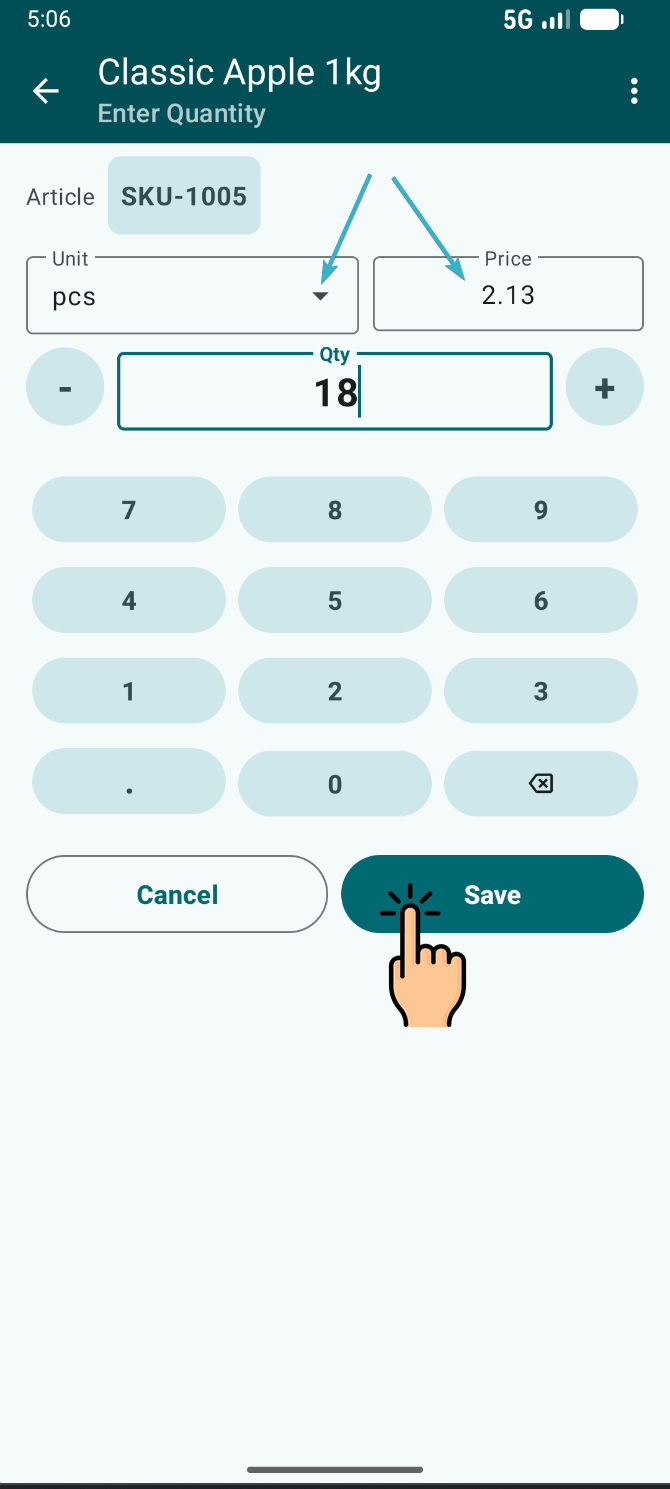
If the client makes a payment, open the Payment tab, tap New Payment, enter the amount, and tap Save. If you need to record stock balances at the location, open the Stock tab, select the product, specify the quantity, and tap Save.
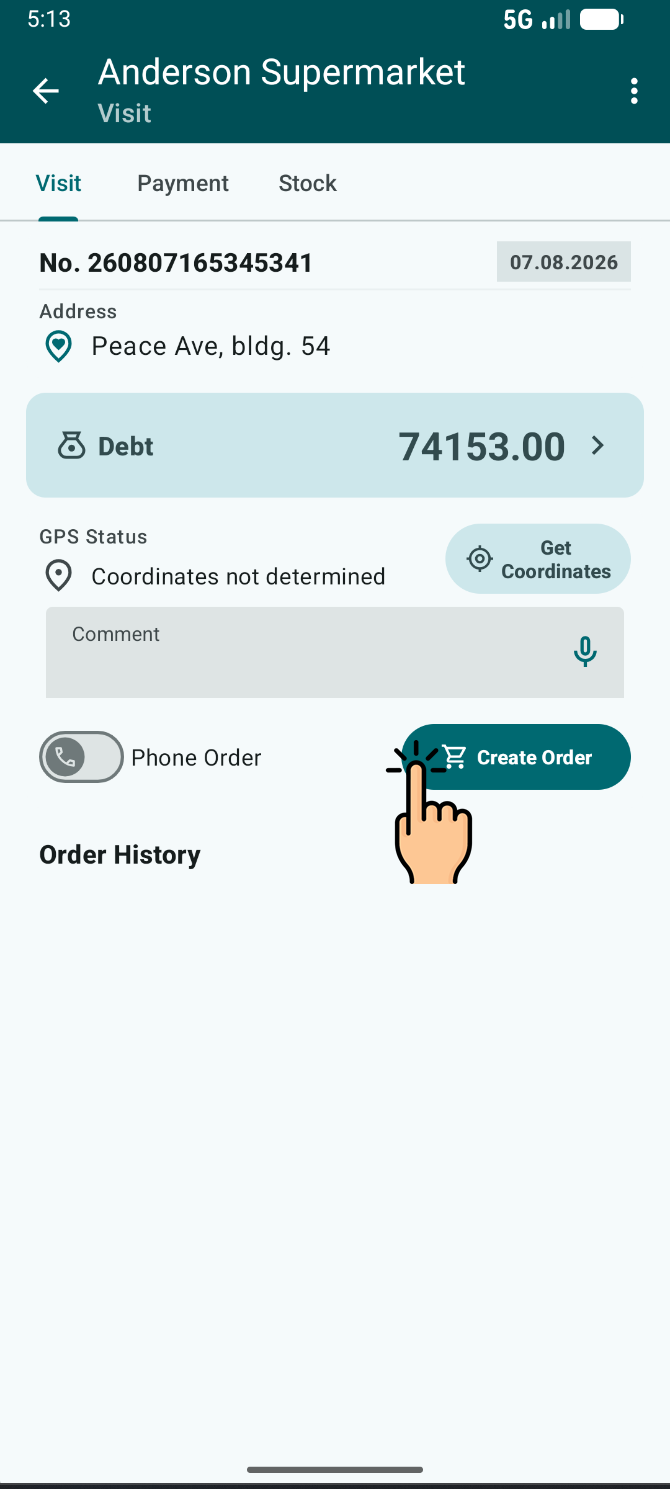
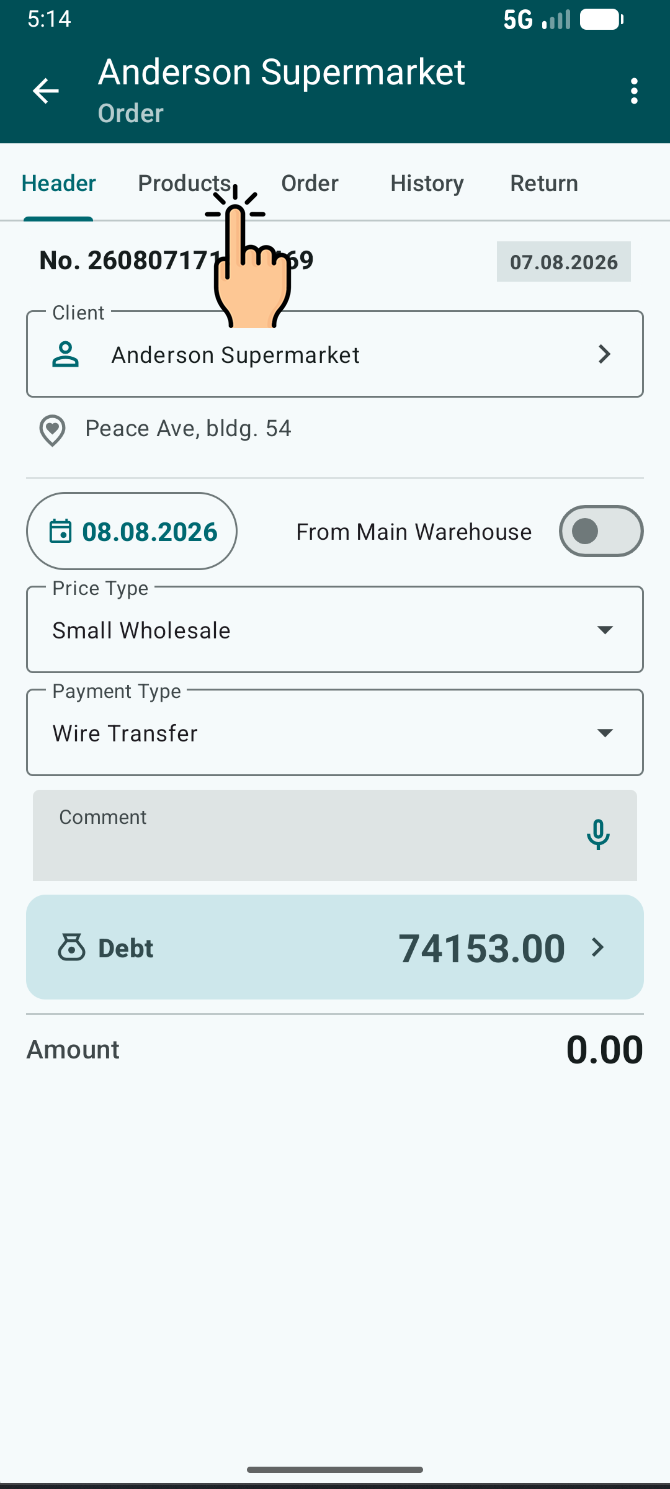
To place an order, return to the Visit tab and tap Create order. In the order, check the delivery date, price type, and payment type, then open the Product tab, select the items, specify the quantity, and tap Save. The completed order can be reviewed on the Order tab.

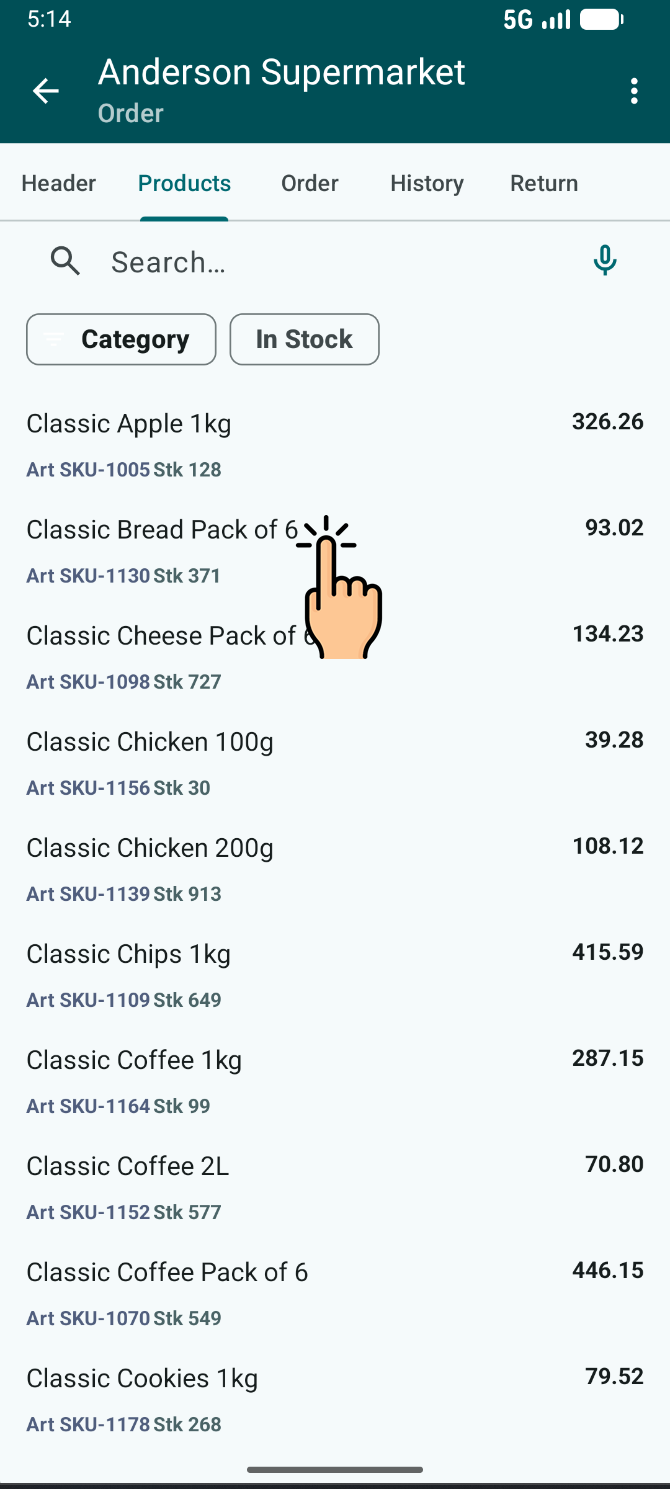
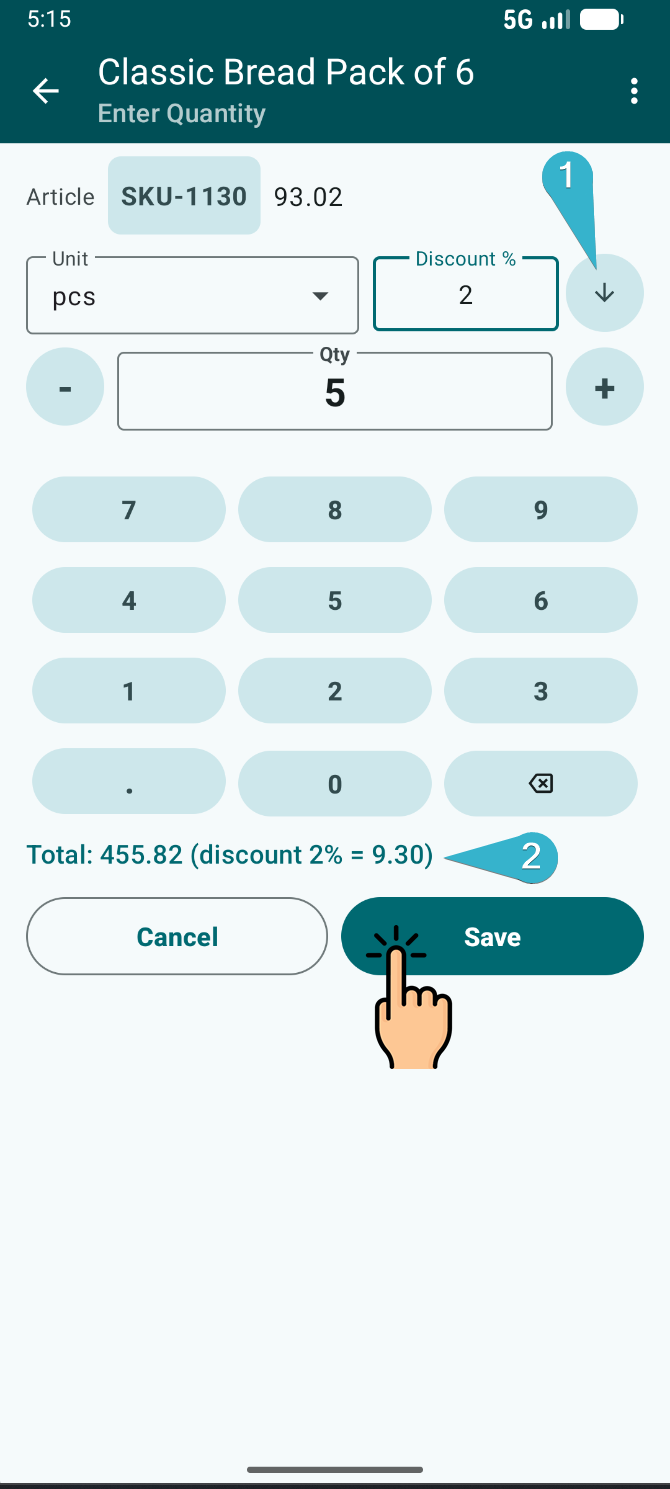
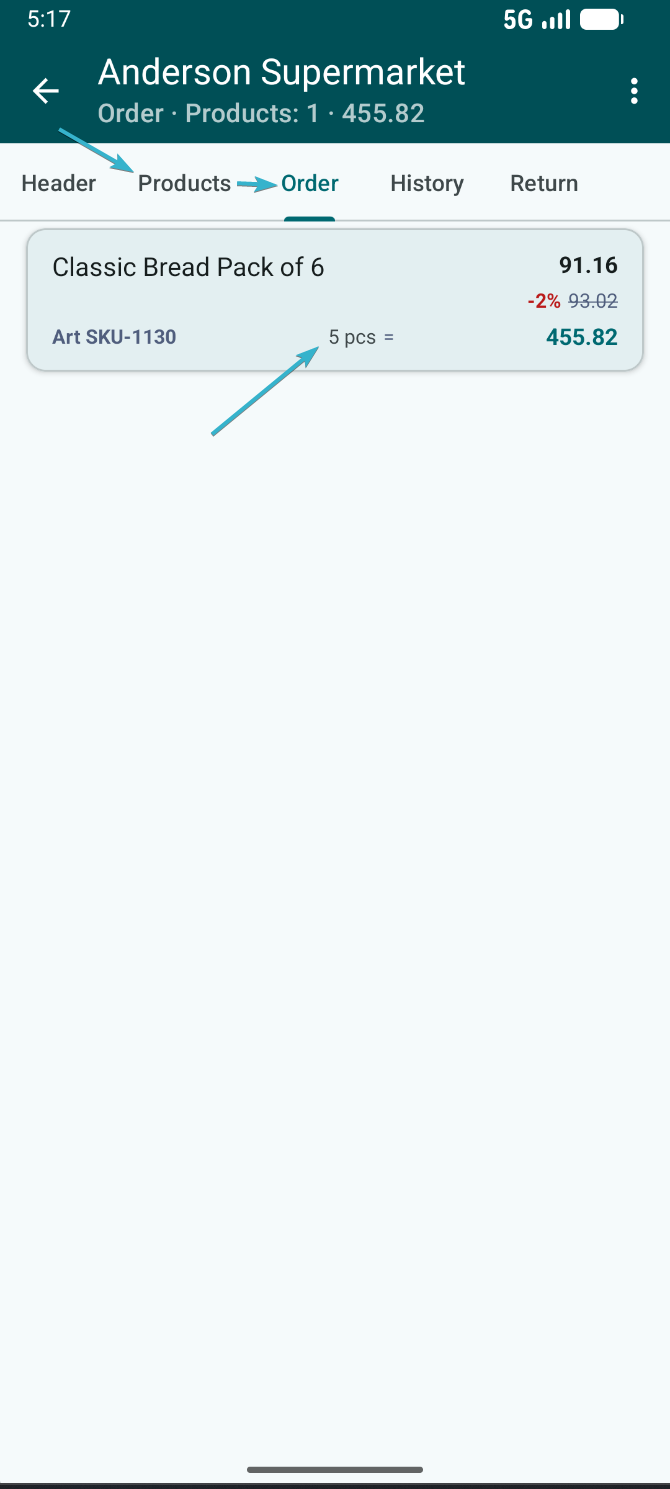
After entering all data, go back to the client list. The visit and created documents are saved in the app. You can then proceed to the next store.
Order management
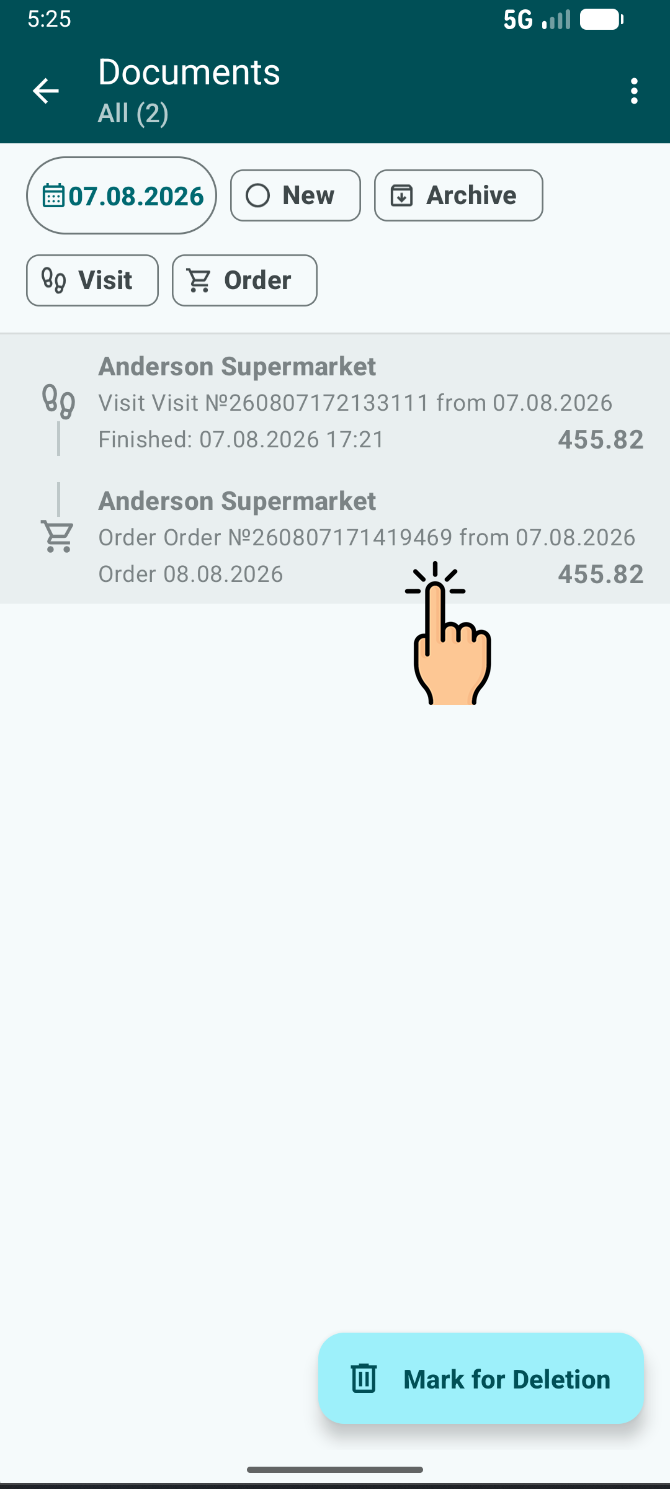
After creating orders in Ordizi, verify that all orders are placed correctly. To do this, open the Documents section and view the list of documents created for the current day. The list will display the visits and orders created by the sales rep across stores.

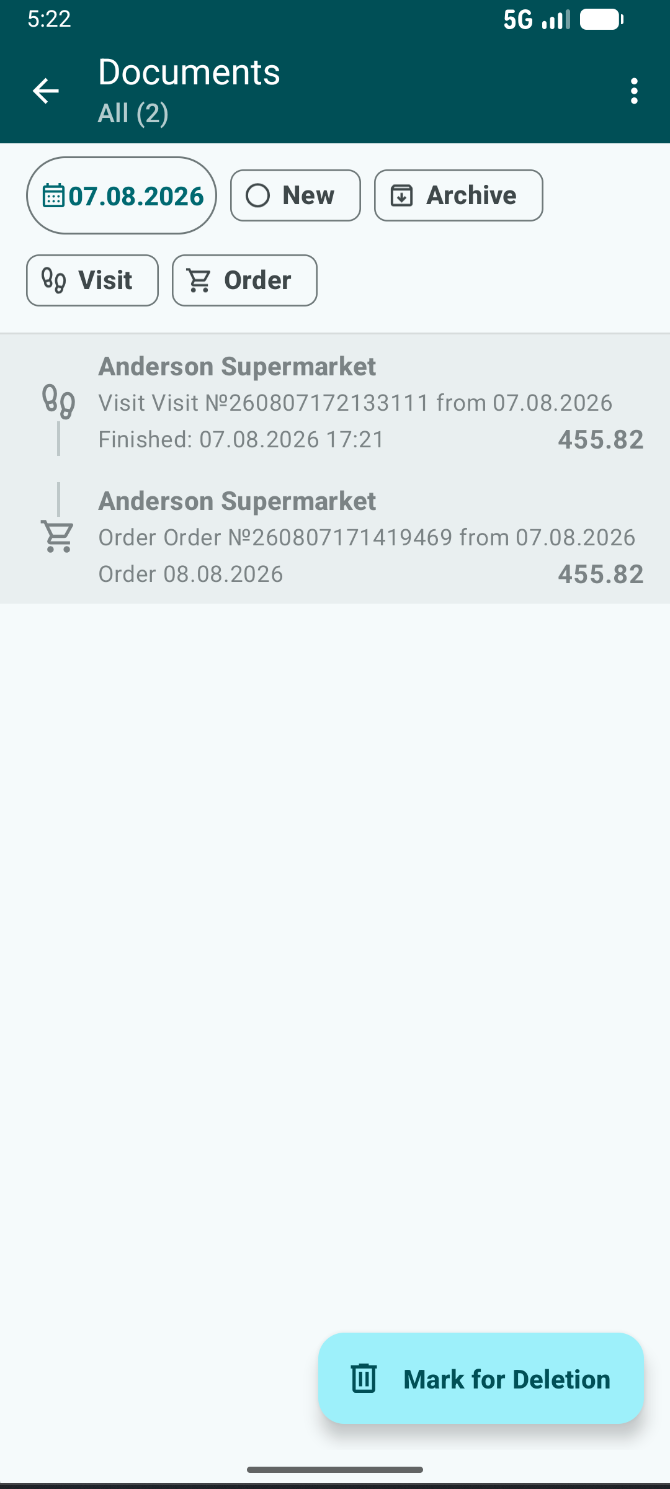
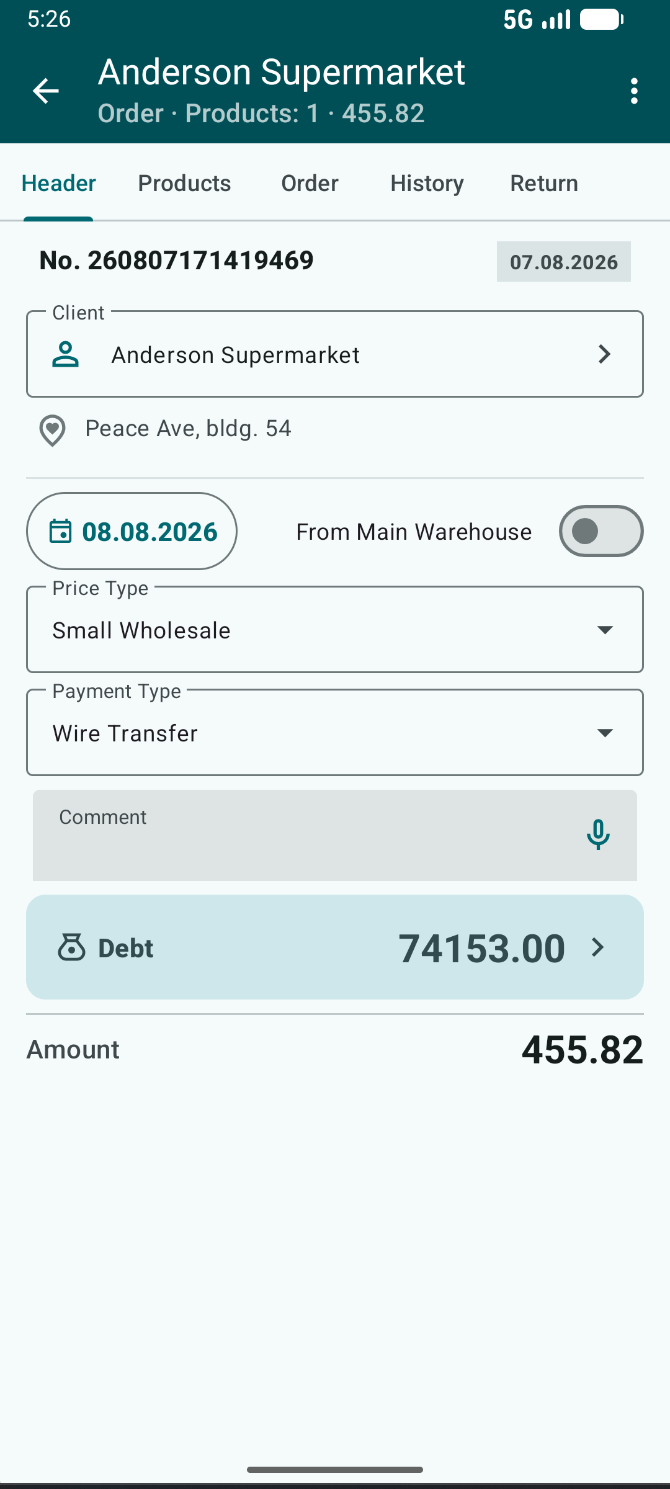
If you need to check a specific order, open it from the list. Inside, you can view the client, delivery date, price type, payment type, and the items added to the order. If the order was created by mistake, open the document menu and mark it for deletion.
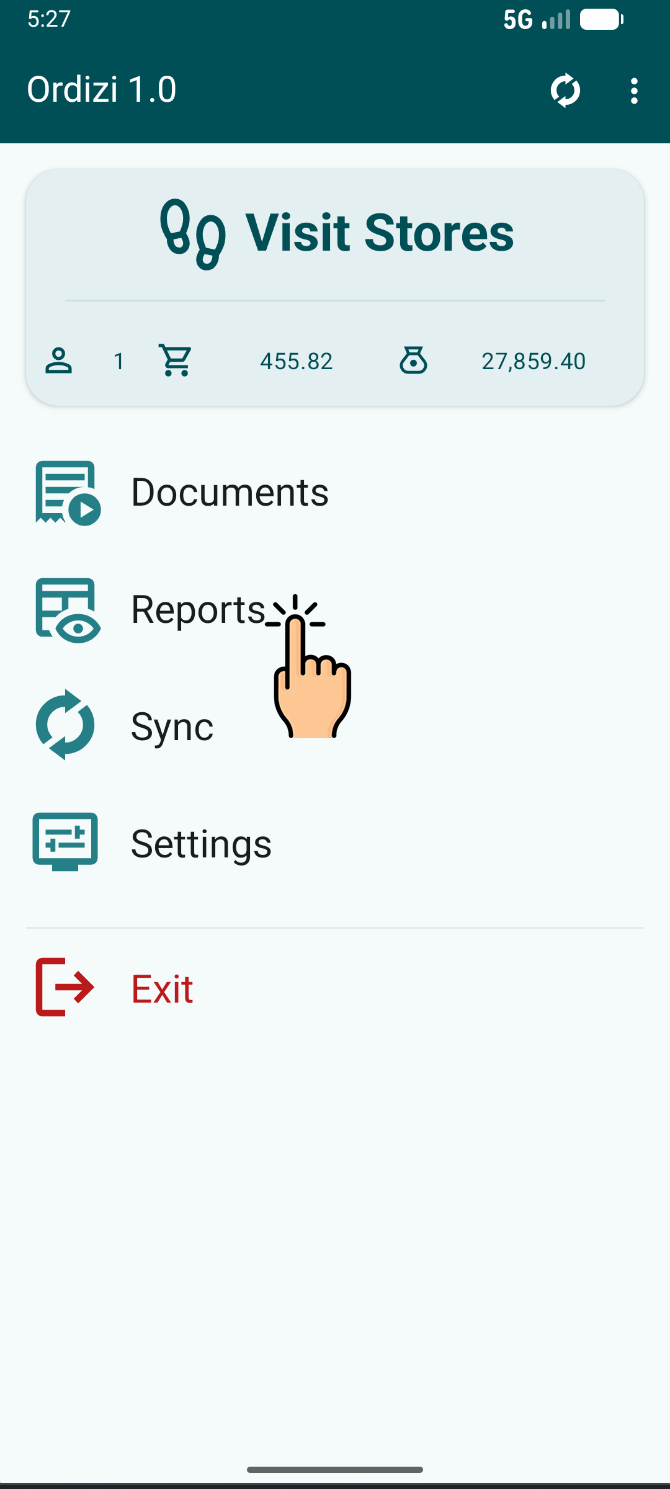
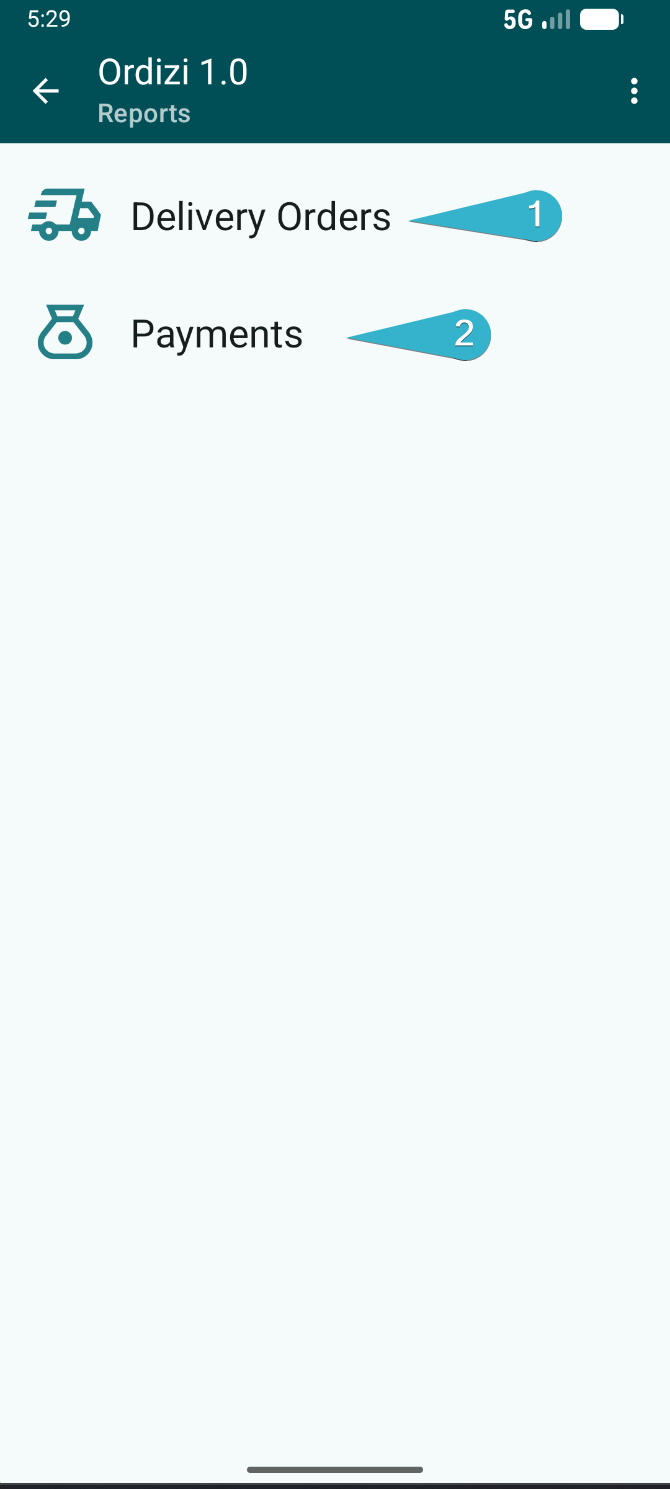
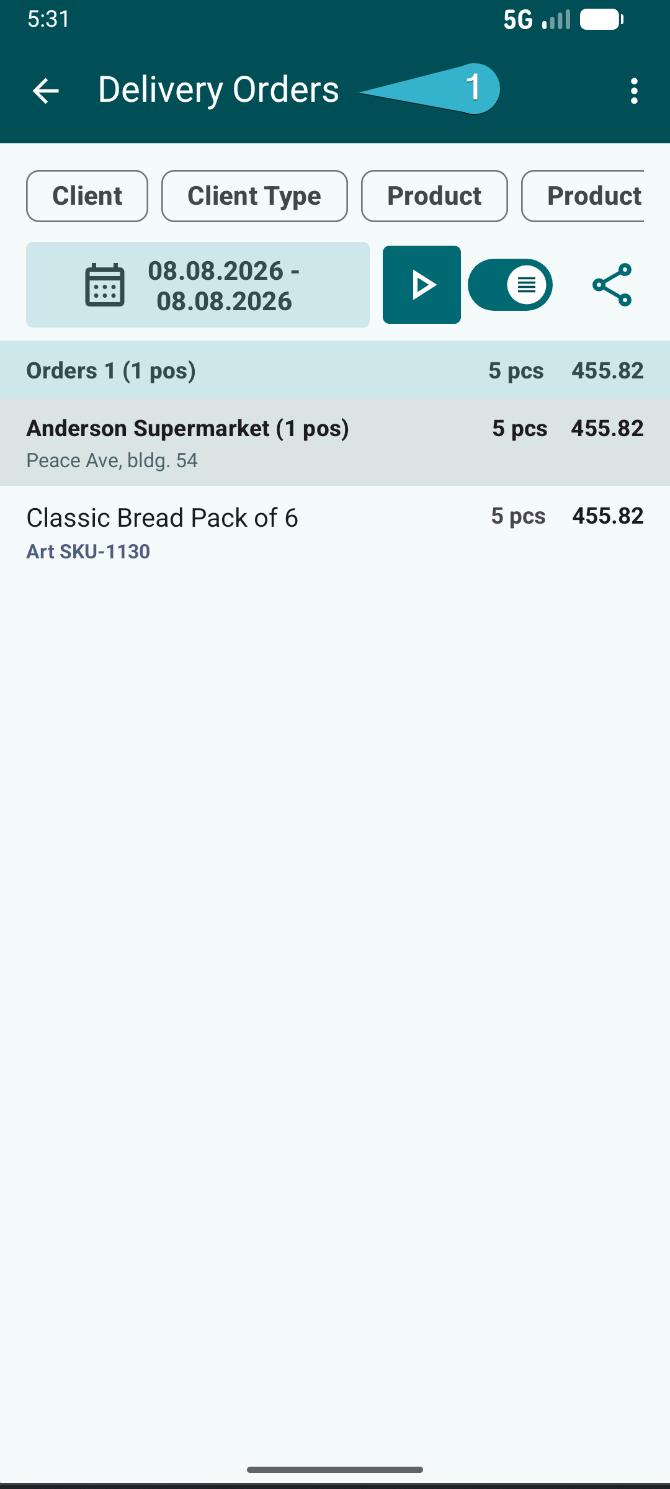
For a general review, open the Reports section and select the Delivery Orders report. The report shows which orders were created, for which clients, and for what amount.